Move · Videos · Technique · 14 min
How to Do a Lunge: Beginner Form Guide

Video by WeShape on YouTube · Open on YouTube
A coach covers the three big lunge mistakes and seven form checkpoints, then works from a supported half reverse lunge up to front and jump lunges so every level has a starting point.
- 14 min
- All levels
- Low impact (no jumping)
- No equipment
Step by step 10
Tap a time to watch that step in the video.
- Three mistakes to avoid: weight on the front toes, the front knee caving in, and pushing up with the quads only. 1:31
- Front foot: flat on the floor, with about 70% of your weight in the heel and 30% in the toes. 4:19
- Front knee and hips: the knee travels the same way as your toes, and the hips stay square and level. 4:57
- Core and glutes: brace as if holding a cough, then push through the front heel and extend the hip to stand. 5:55
- Back knee and foot: feet on two hip-width lines, back knee tracking straight, back toes tucked under. 6:59
- Reverse lunge: step back, lower the back knee, press through the front heel to stand and alternate sides. 9:16
- Easier: reverse half lunge, lowering only halfway with slow, controlled reps. 10:04
- Easiest: supported reverse half lunge, hands on your thigh or a sturdy chair for balance. 10:45
- Harder: front lunge, stepping forward, breathing in as you lower and out as you stand. 11:41
- Hardest: jump lunge, jumping into a lunge and back to feet together, slowly at first. 12:12
The steps are a summary in our words, checked against the video — the coach shows every move.
Form cues from the coach
- Keep the front foot flat with most weight in the heel
- Let both knees travel the same way as your toes, feet on two hip-width lines
- Push through the front heel and extend the hip to stand, keeping the back toes tucked
What it works
Tap an area for more videos that work it.
Joints it uses 2 takes load
- Hips takes loadlunges, extending the hip to stand
- Knees takes loadreverse lunges, half lunges, front lunges
- Ankles & feet moveslunges, front foot flat, back toes tucked
Easier option from the coach: Half-depth reverse lunge, or hands on thigh or a chair for support
A guide to the joints this video’s moves load, from what the coach does — not medical advice. Some ache is normal; stop if a joint hurts sharply. How joints are rated
More like this
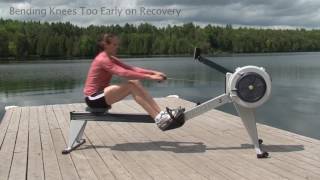 Rowing Machine Technique: Common Errors and Drills to Fix Themconcept2usa · 7 min · all levels
 How to Squat: Five Form EssentialsSquat University · 11 min · beginner
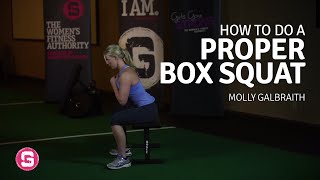 Bodyweight Box Squat for BeginnersGirls Gone Strong | Women's Health & Fitness · 5 min · beginner
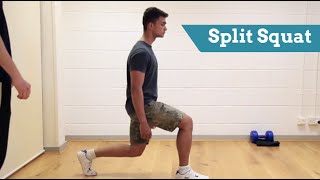 How to Do a Split Squat: Setup and MistakesGet Exercise Confident · 3 min · beginner
 Three Strength Moves for Over-60s, With Easier OptionsAlyssa Kuhn, Arthritis Adventure · 9 min · all levels
 Sit-to-Stand in Three Levels (Age UK Oxfordshire)Age UK Oxfordshire · 4 min · all levels
Video by WeShape; the summary, steps, cues, body areas and joint notes are Notbroken’s, written from what the coach actually does in the video and checked a second time. Warm up first, take the easier options until a move feels easy, and stop if you feel sharp pain, chest pain or dizziness. General instruction, not advice for your body. About & safety